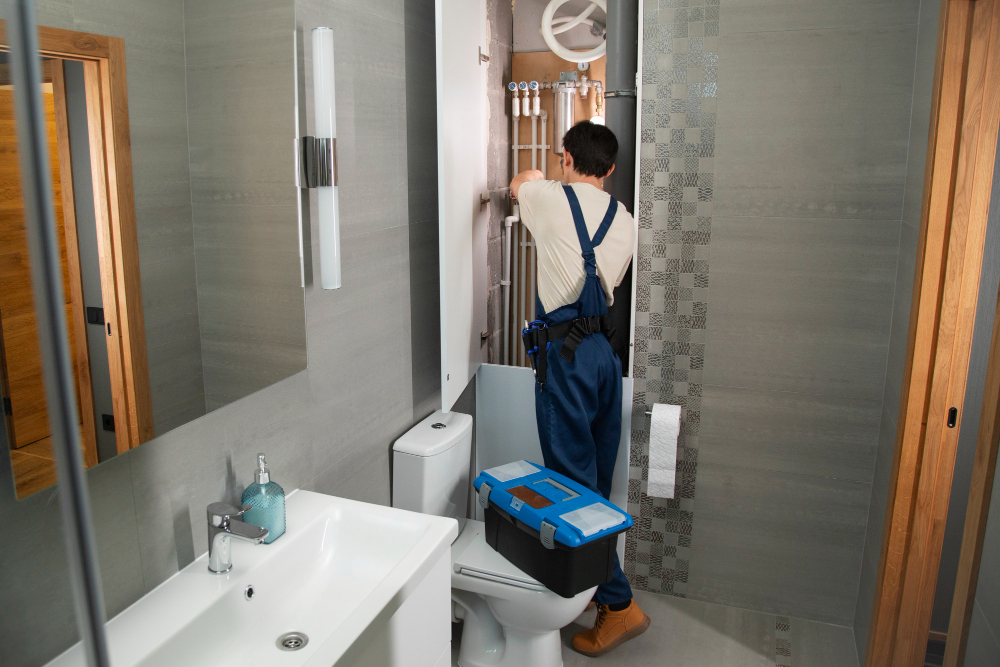
With Bathroom Remodeling London, you can create a bathroom in London, Ontario that looks great, works better, and adds value to your home—without needless stress. A well-planned remodel in London combines smart budgeting, local contractor expertise, and design choices that match your lifestyle, so you’ll end up with a bathroom that’s both beautiful and functional.
This article walks through the planning and process specific to London, ON, and highlights practical design trends you can actually use. Expect guidance on timelines, permitting, contractor selection, and style options so you can make clear decisions and avoid common pitfalls.
Bathroom Remodel London Ontario: Planning and Process
You’ll set a clear budget, handle permits and local rules, choose a contractor with proven London experience, and build a realistic schedule that matches your lifestyle. Each decision affects cost, timing, and the final quality of your remodel.
Setting a Realistic Budget
Start by defining your top three priorities: fixtures, layout changes, and finishes. Allocate roughly 40–50% of your budget to labor, 20–35% to materials and fixtures, and the remainder to permits, contingency, and design fees.
Get at least three written quotes that break out labor, materials, disposal, and miscellaneous charges. Ask contractors to list allowances for items such as vanities, tiles, and plumbing fixtures so you can swap options without changing the baseline price.
Plan a contingency of 10–20% for hidden issues common in London homes, like subfloor or plumbing repairs. Use a simple spreadsheet to track estimates vs. actuals and update it after each decision to avoid budget creep.
Understanding Local Permits and Regulations
Contact the City of London building permit office to confirm requirements for plumbing, electrical, and structural changes. Minor cosmetic updates usually don’t need permits, but moving a shower, changing drain locations, or altering load-bearing walls will.
Request a written list of required permits from your contractor before work starts. If the contractor pulls permits, verify they provide permit numbers and inspection timelines.
Schedule rough-in and final inspections into your timeline; inspections can affect when trades can proceed. Keep copies of permit documents and inspection approvals—you’ll need them for resale and to avoid fines.
Selecting a Reputable Contractor
Look for contractors with multiple recent London-area bathroom projects and verifiable references. Request a portfolio, at least three client references with contact information, and proof of insurance and WSIB coverage.
Verify business registration and check reviews on local listings such as Yelp and regional directories. Ask how they handle subcontractors and who will be your day-to-day contact.
Get a detailed written contract that specifies scope, payment schedule tied to milestones, change-order procedures, warranty terms (materials and labor), and a projected start and completion date. Hold back a final payment until work passes final inspection and you sign off.
Timeline Estimation and Scheduling
Create a schedule that splits the project into key phases: demolition (1–3 days), rough-in plumbing/electrical (2–7 days), drywall and tile (5–10 days), fixture installation (2–4 days), and finishing touches (2–5 days). Adjust durations for scope and unforeseen repairs.
Plan for at least one inspection milestone after rough-in and one after completion. Order long-lead items—vanities, custom cabinets, specialty tiles—early to avoid delays; those can add 2–8 weeks to your timeline.
Communicate a weekly progress check with your contractor and set clear access rules for the crew. If you live in the home, establish a temporary bathroom plan before demolition to avoid interruptions to daily life.
Bathroom Remodeling London: Design Choices and Trends
You’ll focus on making tight layouts work, cutting utility costs, and picking durable finishes that suit London, ON homes and resale expectations. Practical choices—like efficient plumbing, smart storage, and slip-resistant tiles—deliver the biggest day-to-day benefits.
Space Optimization Solutions
Use layout changes first: convert a tub to a walk-in shower or shift a toilet slightly to free up floor space. Those moves can add clearances required by building code while improving circulation.
Install recessed medicine cabinets and built-in niches to eliminate bulky furniture. Choose a floating vanity with drawers for easier cleaning and better visual space; you gain visible floor area that makes the room feel larger.
Consider pocket doors or outward-swinging doors to reclaim swing space. If you have high ceilings, add shallow shelving above doors or open shelving above the toilet for seasonal items and linens. Prioritize accessible storage—lower drawers, pull-out trays, and labeled baskets—to keep essentials within reach and reduce clutter.
Water-Efficient Fixtures and Features
Select dual-flush or 4.8 L (1.28 GPF) low-flow toilets to cut water use without compromising performance. Look for fixtures certified by independent programs (e.g., WaterSense) when possible to ensure proven savings.
Install a 1.8–2.0 GPM showerhead with pressure-compensating technology for a satisfying spray while saving water. Combine with thermostatic or pressure-balanced valves to stabilize temperature and reduce wasted water while you adjust settings.
Add faucet aerators (6–8 L/min or lower) and consider demand-controlled recirculation or point-of-use water heaters in larger remodels to reduce wait times and conserve water. Track local rebates from London-area utilities—these can offset upgrade costs for efficient fixtures.
Modern Tile and Flooring Options
For a Bathroom Remodel London Ontario, porcelain plank tile offers wood-like aesthetics with moisture resistance and is ideal for underfloor heating; choose rectified edges for tighter grout lines. Large-format porcelain reduces grout area and simplifies cleaning in small bathrooms.
Slip-resistant porcelain or textured natural stone works well near showers and tub surrounds. Use smaller mosaic tiles with more grout on shower floors to improve traction and slope for drainage. For radiant heat, confirm tile compatibility and use appropriate mortars.
For budget-friendly flooring, luxury vinyl plank (LVP) provides waterproof performance and quick installation. Select wear-layer ratings suitable for high-traffic bathrooms and match trim pieces for a cohesive look.