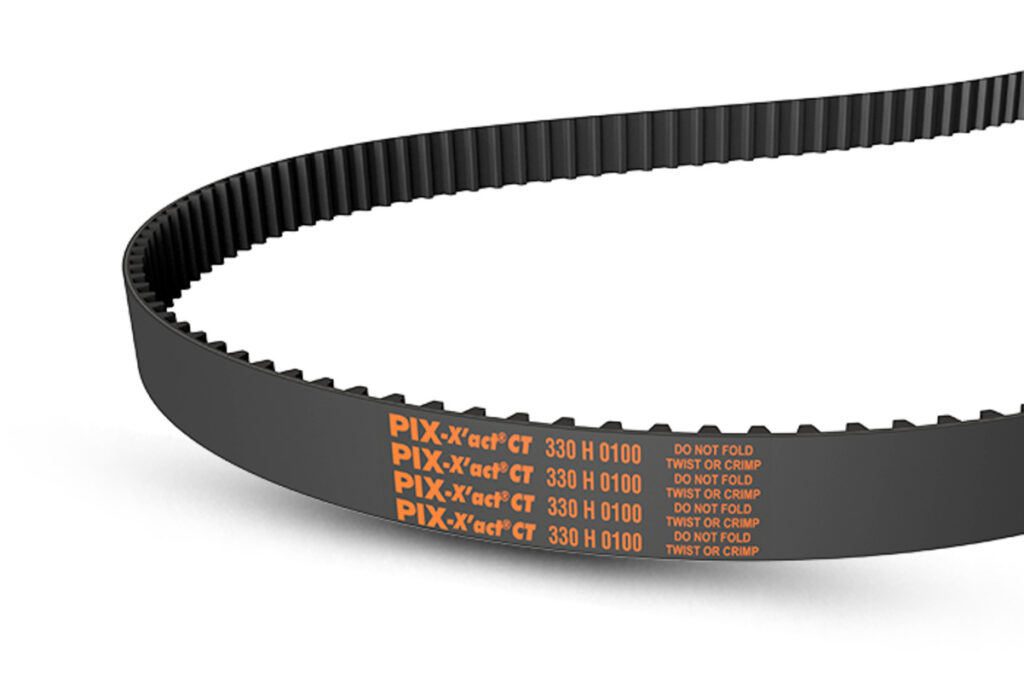
Installing and aligning a Industrial Belts may look simple at first glance. But many breakdowns start right here, often due to small steps being skipped or rushed. What’s surprising is that most belt issues don’t happen because of poor quality they happen because of poor installation. This guide walks you through the process in a clear, human way, helping you avoid mistakes that quietly shorten belt life.
Why Proper Installation and Alignment Really Matter
Before touching any tools, it’s important to understand why this process deserves attention. A belt that is not installed or aligned correctly can lead to:
-
Sudden machine stoppage
-
Extra noise and vibration
-
Faster wear of parts
-
Higher energy use
What makes this tricky is that problems may not show up right away. The machine may run fine for days or weeks before trouble starts. That’s why careful setup from the beginning makes all the difference.
Note:
Step 1: Prepare the Area and Ensure Safety
Never begin work on a running or powered machine. This step is often underestimated, yet it’s the most critical.
What to do first
-
Turn off the power supply
-
Lock the machine so it cannot restart
-
Clean dust, oil, and debris from the area
A clean and safe workspace helps you spot issues early, like worn parts or loose fittings that could affect alignment later.
Step 2: Inspect the Belt and Pulleys Carefully
Before installing anything, take a close look. This is where hidden problems often reveal themselves.
Check the belt for
-
Cracks or cuts
-
Hard or shiny surfaces
-
Uneven edges
Check the pulleys for
-
Rust or dirt buildup
-
Chips or worn grooves
-
Misplaced or loose mounts
Even a new belt can fail quickly if pulleys are damaged or dirty.
Common Installation Issues and Their Effects
| Issue Found | What It Causes | Why It Matters |
|---|---|---|
| Dirty pulley surface | Slipping | Reduces grip and power |
| Worn pulley grooves | Uneven movement | Leads to early belt damage |
| Loose mounting | Vibration | Causes noise and stress |
| Damaged belt edges | Tracking problems | Shortens belt life |
Step 3: Install the Belt Without Forcing It
A common mistake is using tools to force the belt into place. This may save time now but costs more later.
Correct approach
-
Loosen the pulley adjustment
-
Place the belt gently into position
-
Ensure it sits evenly in the pulley
If the belt feels too tight to fit, something is wrong. Never stretch or pry it on.
Step 4: Align the Pulleys with Care
Alignment is where curiosity pays off. A belt can look straight and still be misaligned.
How to align properly
-
Check that pulleys are in the same plane
-
Make sure they are level and straight
-
Adjust slowly and recheck often
Even small alignment errors can cause side wear and noise. This step may feel slow, but it prevents long-term damage.
Signs of Poor Alignment to Watch For
| Warning Sign | What It Tells You | What May Happen Next |
|---|---|---|
| Belt squealing | Slipping or misalignment | Heat buildup |
| Uneven edge wear | Pulley not straight | Early failure |
| Belt moving sideways | Poor tracking | Sudden breakdown |
| Vibration | Pulley imbalance | Damage to nearby parts |

Step 5: Apply the Right Tension
Too tight or too loose—both cause problems. Finding balance is key.
General tension tips
-
The belt should flex slightly when pressed
-
Avoid over-tightening
-
Rotate the system by hand to check movement
After tensioning, run the machine briefly and listen. Strange sounds are clues, not annoyances.
Step 6: Test, Observe, and Recheck
This is where patience pays off.
-
Run the machine at low speed first
-
Watch how the belt moves
-
Stop and recheck alignment and tension
Many issues appear only after the first run. A quick recheck can prevent weeks of trouble.
Frequently Asked Questions
1. How long does proper installation usually take?
It depends on the machine, but careful installation often takes longer than expected—and saves much more time later.
2. Can a belt be reused after removal?
Only if it shows no signs of wear, stretching, or damage. Always inspect before reuse.
3. Why does a new belt sometimes fail quickly?
Most early failures are linked to poor alignment, wrong tension, or worn pulleys.
4. Is visual alignment enough?
Visual checks help, but small misalignments may still exist. Slow adjustments and testing are important.
5. How often should alignment be checked after installation?
It’s best to recheck after the first few hours of operation and during regular maintenance.
Final Thoughts and Next Steps
Installing and aligning a belt may seem like a routine task, but it plays a much bigger role in how smoothly a machine runs over time. Small details such as proper alignment, correct tension, and careful inspection can prevent unexpected breakdowns and costly repairs. When these steps are followed with patience, the belt works quietly in the background, doing its job without creating problems.
The key takeaway is simple: rushing the process often leads to repeat issues, while taking a little extra time during installation delivers long-term benefits. Regular checks after installation also help catch early signs of wear before they turn into serious failures.
As a next step, review your current installation and maintenance practices and identify areas that can be improved. Applying these steps consistently will lead to safer operations, better reliability, and longer service life for your equipment.